Inspired by a previous project, I wanted to take one of our concepts further and develop a truly working edge device which could give the wearer visual indications of their auditory environment.
This personal exploration involved software, hardware, and product design to apply DoA estimation, DSP, and on-device sound classification in the form of wearable smart glasses
Project goal:
Design a wearable device that helps users understand where sounds are coming from in their environment and what those sounds are: combining periphery visual queues, direction-of-arrival (DoA) estimation, and edge ML audio classification.
- hardware
- RP2350A Dual Core Microcontroller
- XMOS XVF3800 voice processor
- WS2812 LEDs
- Infineon MEMS microphones
- software
- C / C++
- Edge Impulse ML
- I2C, I2S, PIO
- materials
- PLA
- cellulose acetate
My takeaways:
This project helped me work through system-level problem solving across embedded programming, PCB design, and product ergonomics.
Reverse engineering + validation were critical: using a logic analyzer for careful protocol decoding helped me piece apart the XVF3800’s expectations for host processor communication to replicate with the RP2350.
Iterative prototyping - from breadboard, to custom PCB, to wearable casing — I had to ensure functionality translated into a usable form factor by working within the size and weight constraints of the components
There was a lot that went into this project, but here are a few highlights of the process
My start: Reverse Engineering the XVF3800 DevKit for the Pico 2
I began with the XK-VOICE-SQ66 4 microphone evaluation kit, which applies the XMOS XVF3800 voice processor to perform beamforming, mic-array audio processing, and DoA estimation. While the official dev kit used a Raspberry Pi host and linux based host control application, I needed to replicate its functionality on a microcontroller.
- Captured I2C and I2S traffic between the XVF3800 and Raspberry Pi using PulseView and a logic analyzer.
- Logged the command sequences, buffer lengths, and float offsets.
- Validated these with the XVF3800 User Guide and source YAML command files.
- Built I2C write and read functions for the Pico 2 which applied these command sequences to retrieve DoA
- Wrote a PIO I2S receiver for the XVF3800 audio stream and for driving the WS2812 LEDs
Machine Learning Integration with Edge Impulse
I was initially thinking to use a TFLMicro application of the YAMNet audio classifier, but I quickly changed to the Edge Impulse platform to build my own audio classifier because they focus on edge deployment specifically and conveniently package your model as a C++ library integration.
With Edge Impulse, I built a lightweight 2-class model (Speech, Not Speech) using MFE features as the impulse (signal preprocessing and feature extraction). I curated my dataset from the larger ESC-50, UrbanSound8K, and Mozilla Common Voice datasets. Following a successful training, I deployed the model as a quantized int8 C++ library optimized for my RP2350.
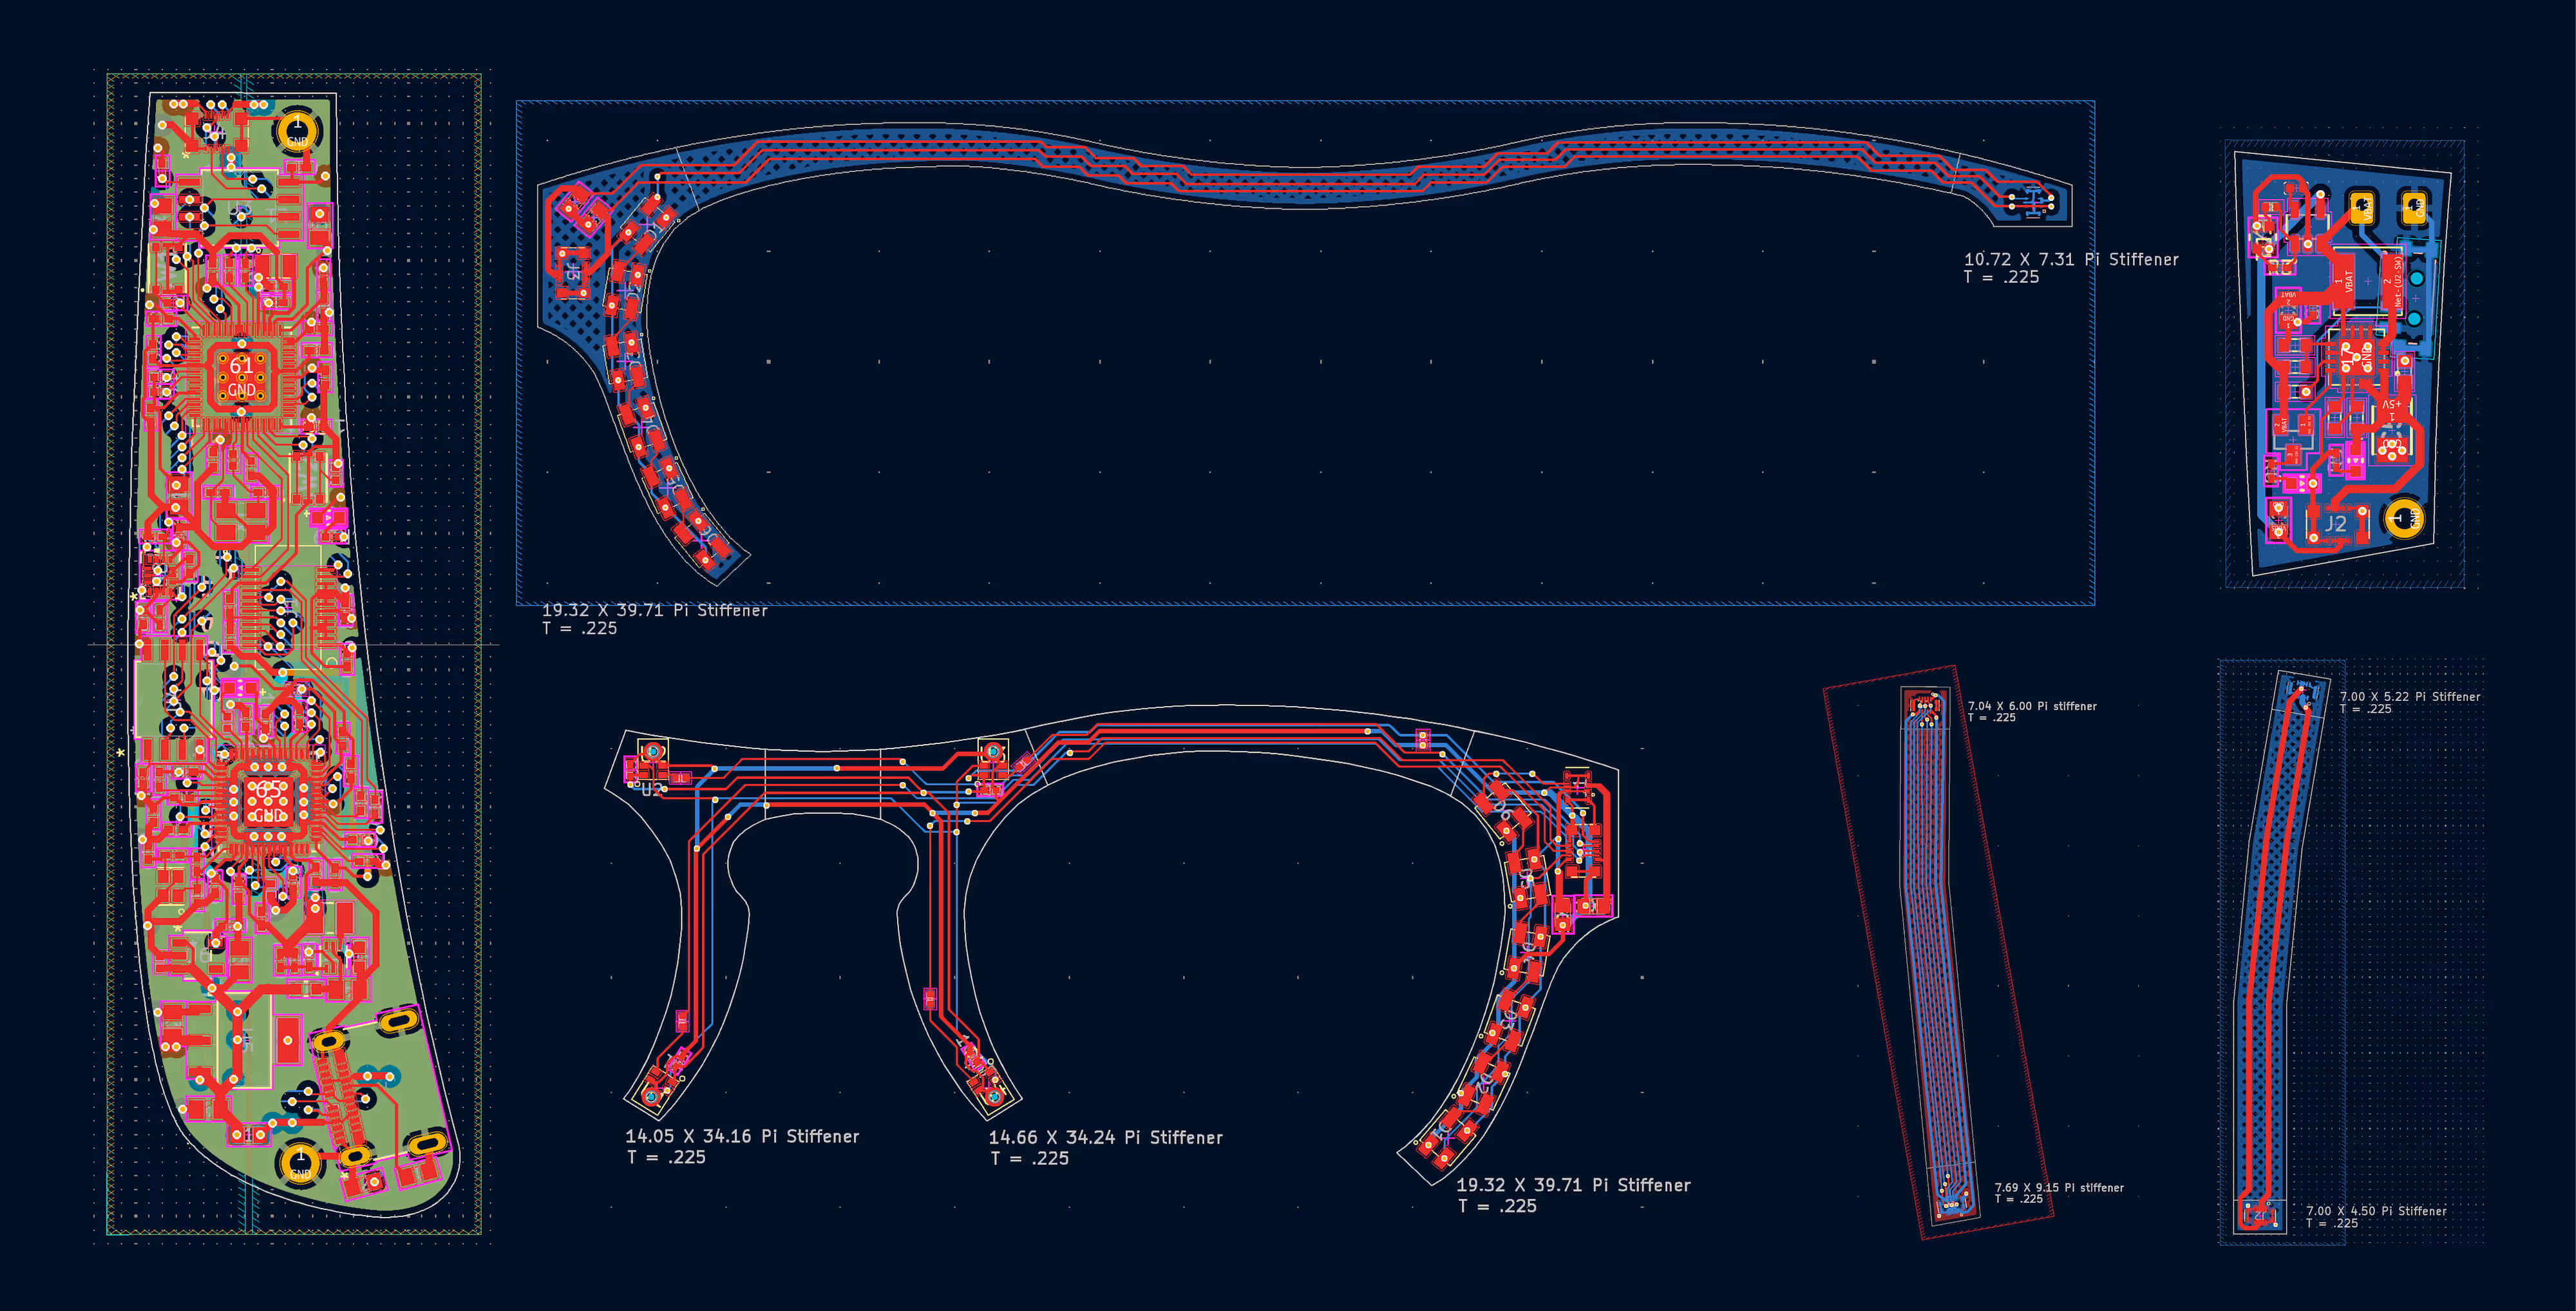
From the breadboard to a PCB
Once the prototype was validated, I designed my own board around the RP2350A and XVF3800 in KiCad. A big reason I settled on the RP2350A as a host processor besides its capabilities was the substantial documentation and dev community which gave me a lot of guidance for the PCB; the hardware design guide was invaluable. For the XVF3800, much of the hardware design was provided to me through the DevKit schematic and Gerber files- all I had to do was reference them.
I also had to design the supporting PCBs for power delivery and microphone array integration. For the power supply, I referenced the design files for power supply dev board I've often used.
This was my first PCB design with an MCU (or multiple!) so it was a large but exciting learning curve. I learning a lot about impedance and voltage handling, and proper grounding for signal integrity. Testing the manufactured boards for the first time, I was almost half surprised they worked perfectly!
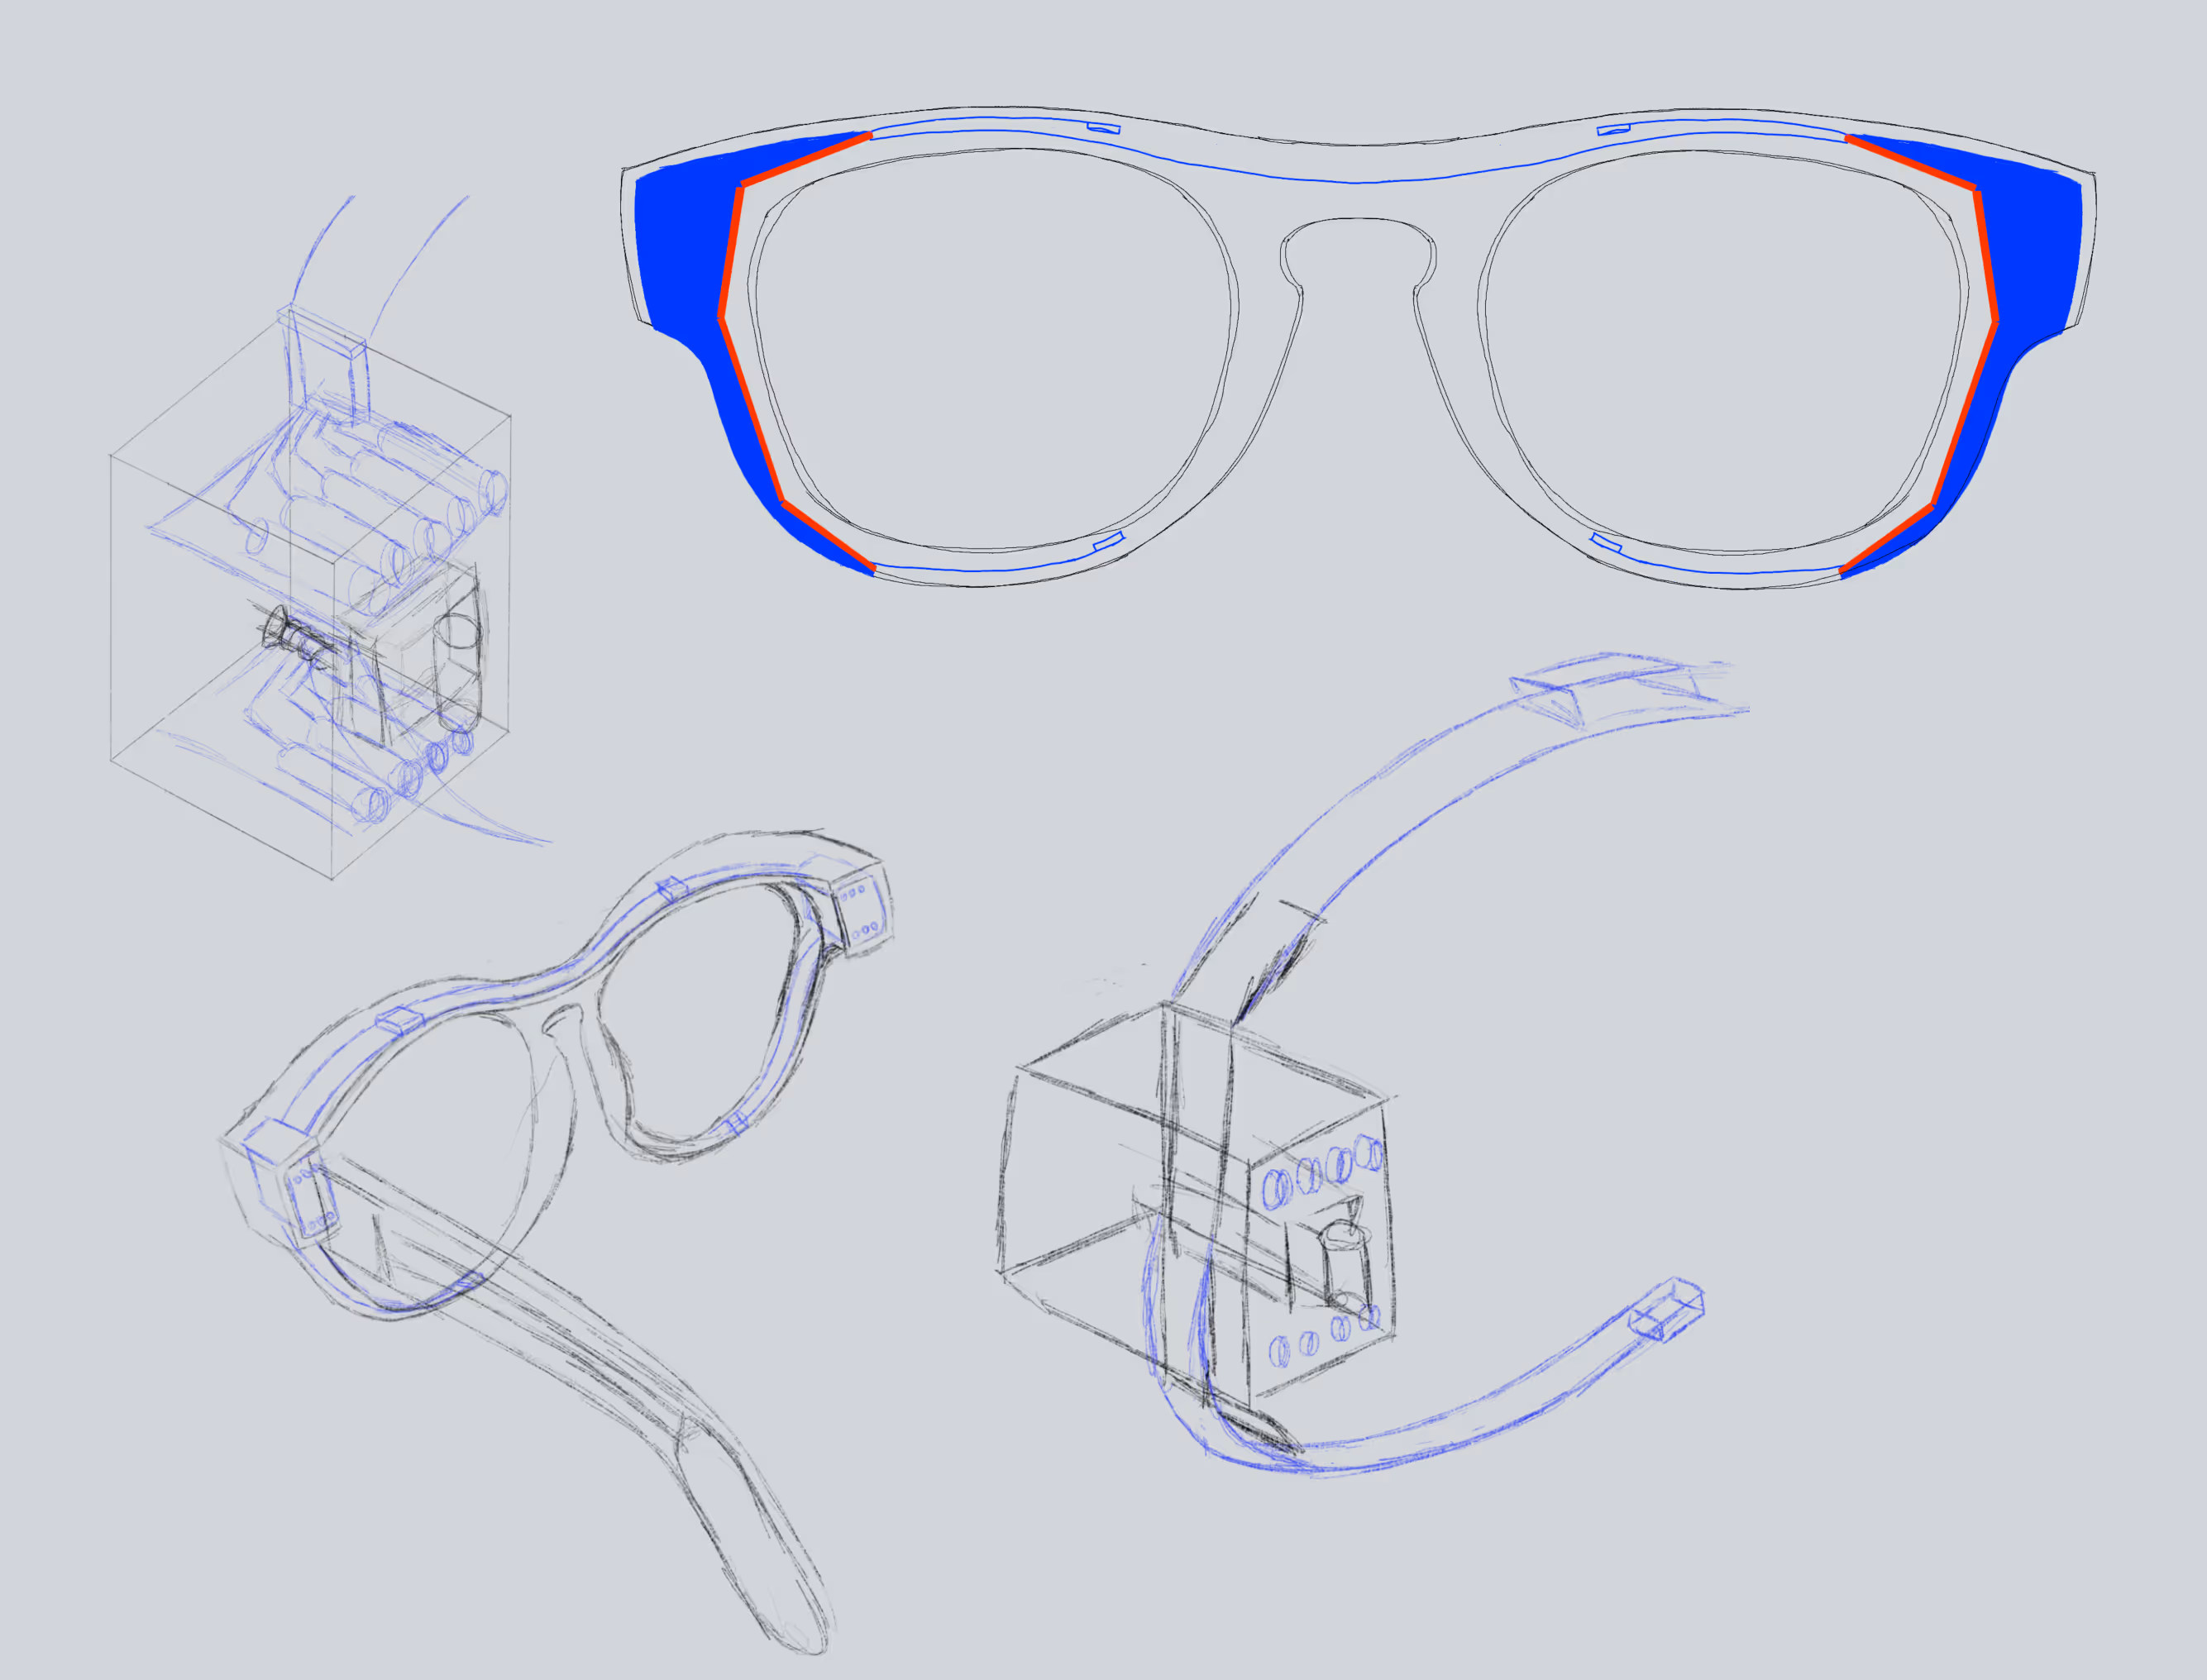
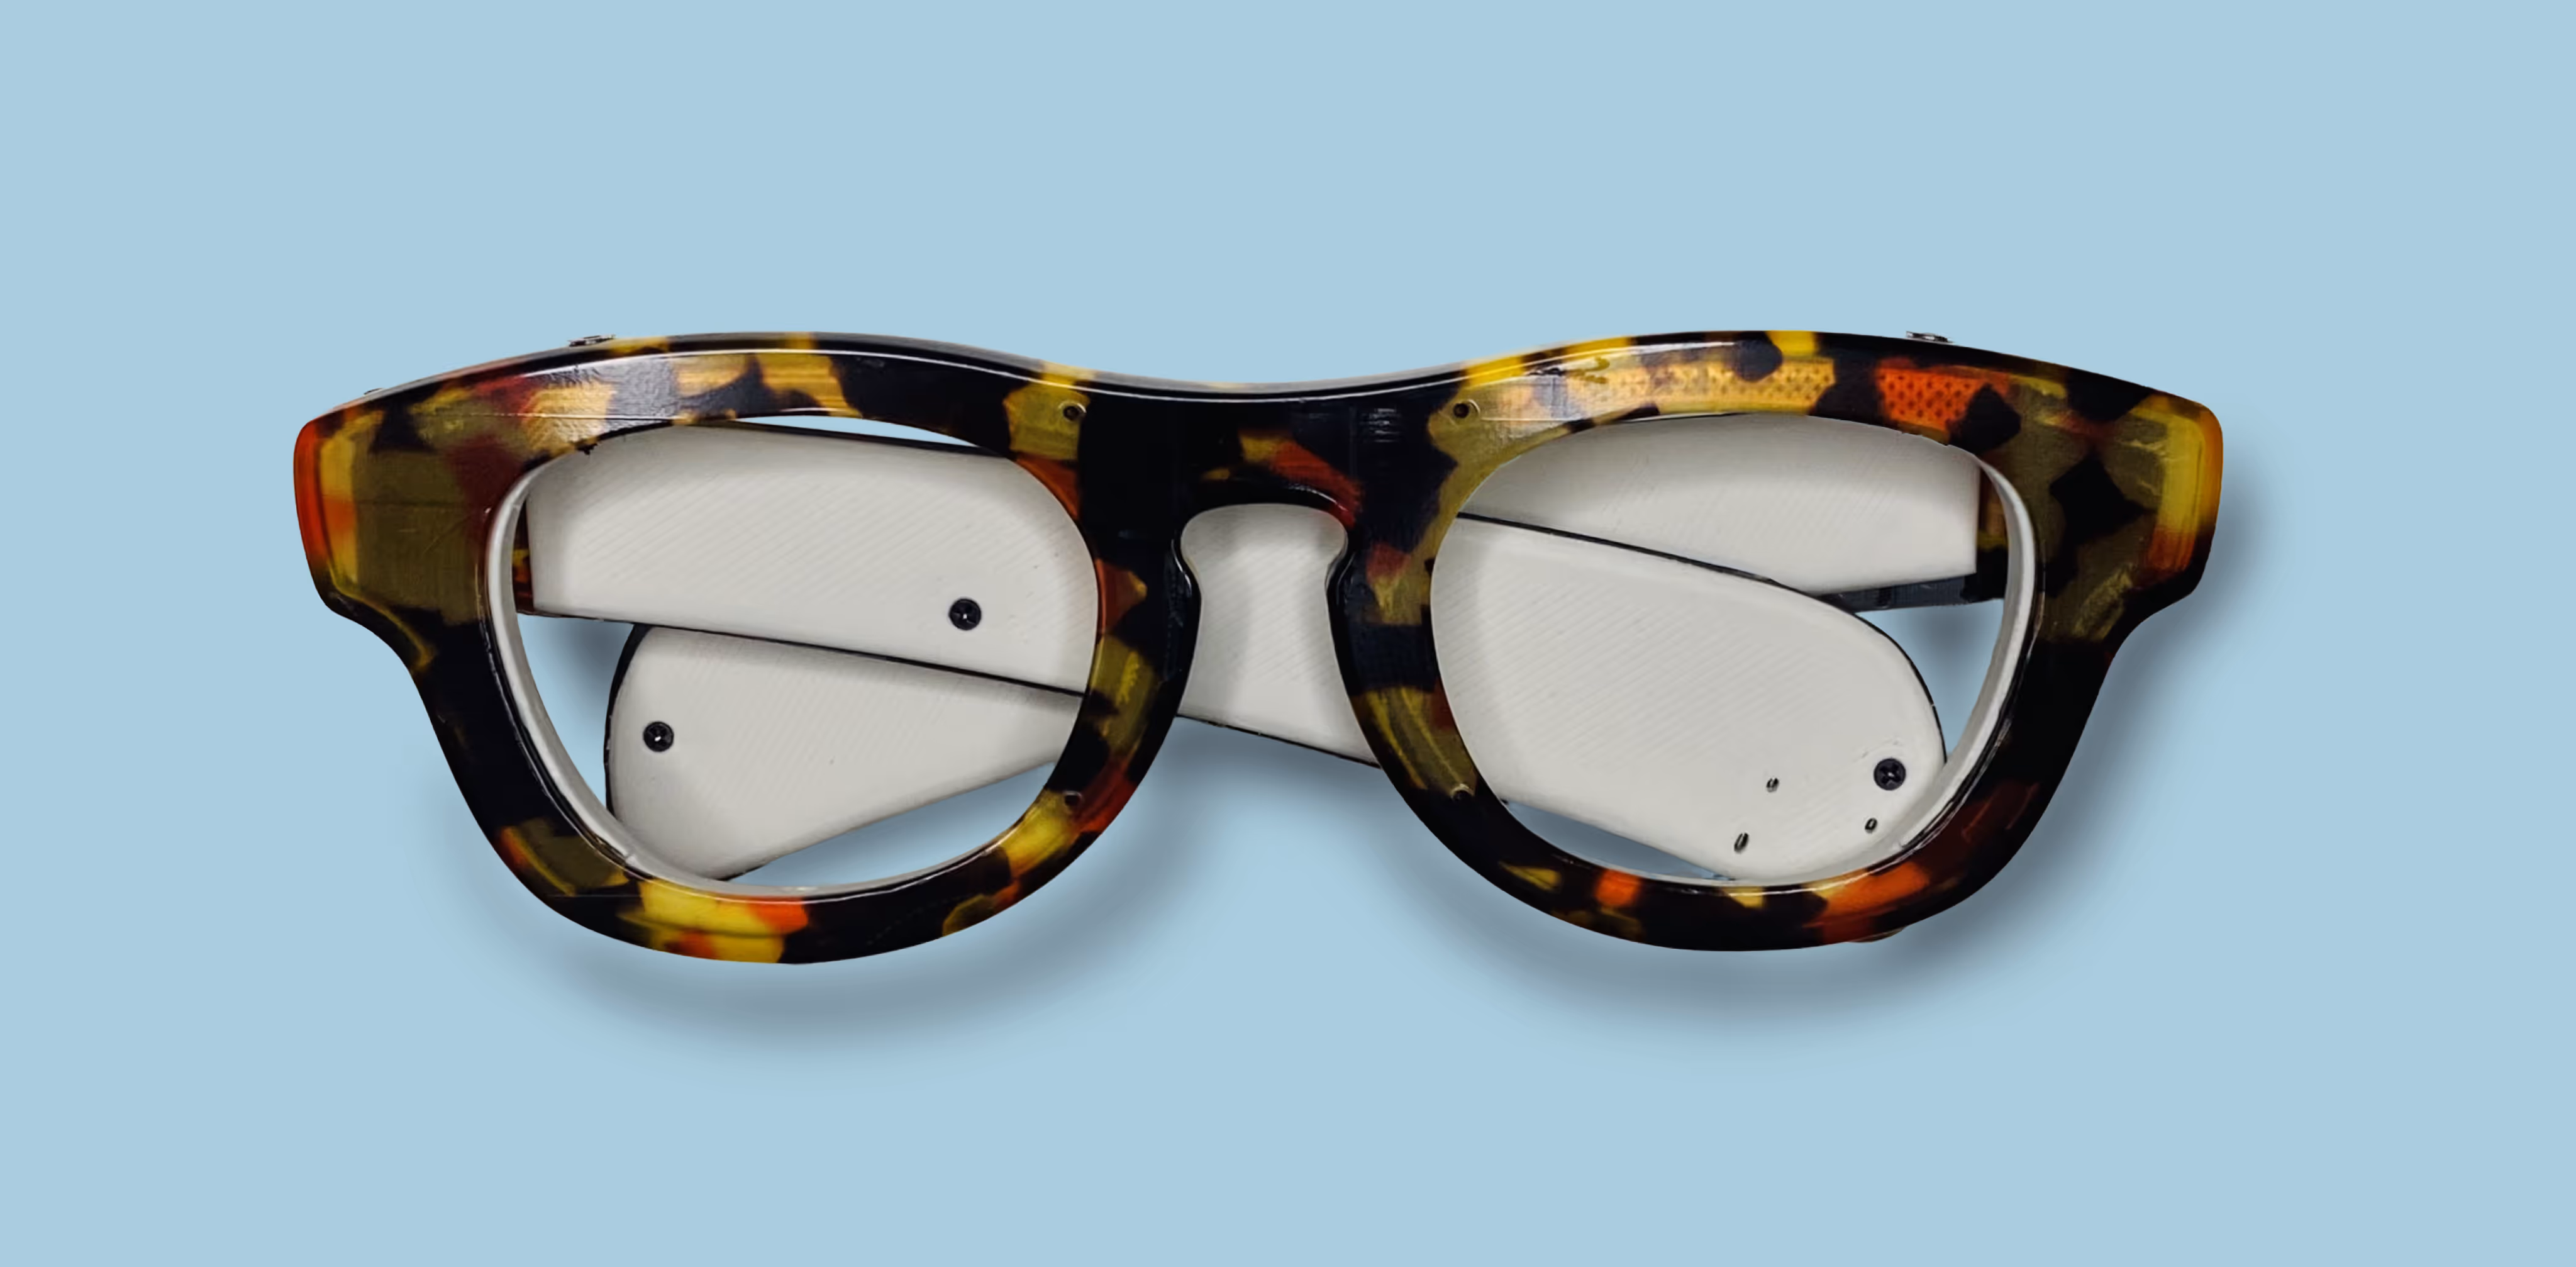
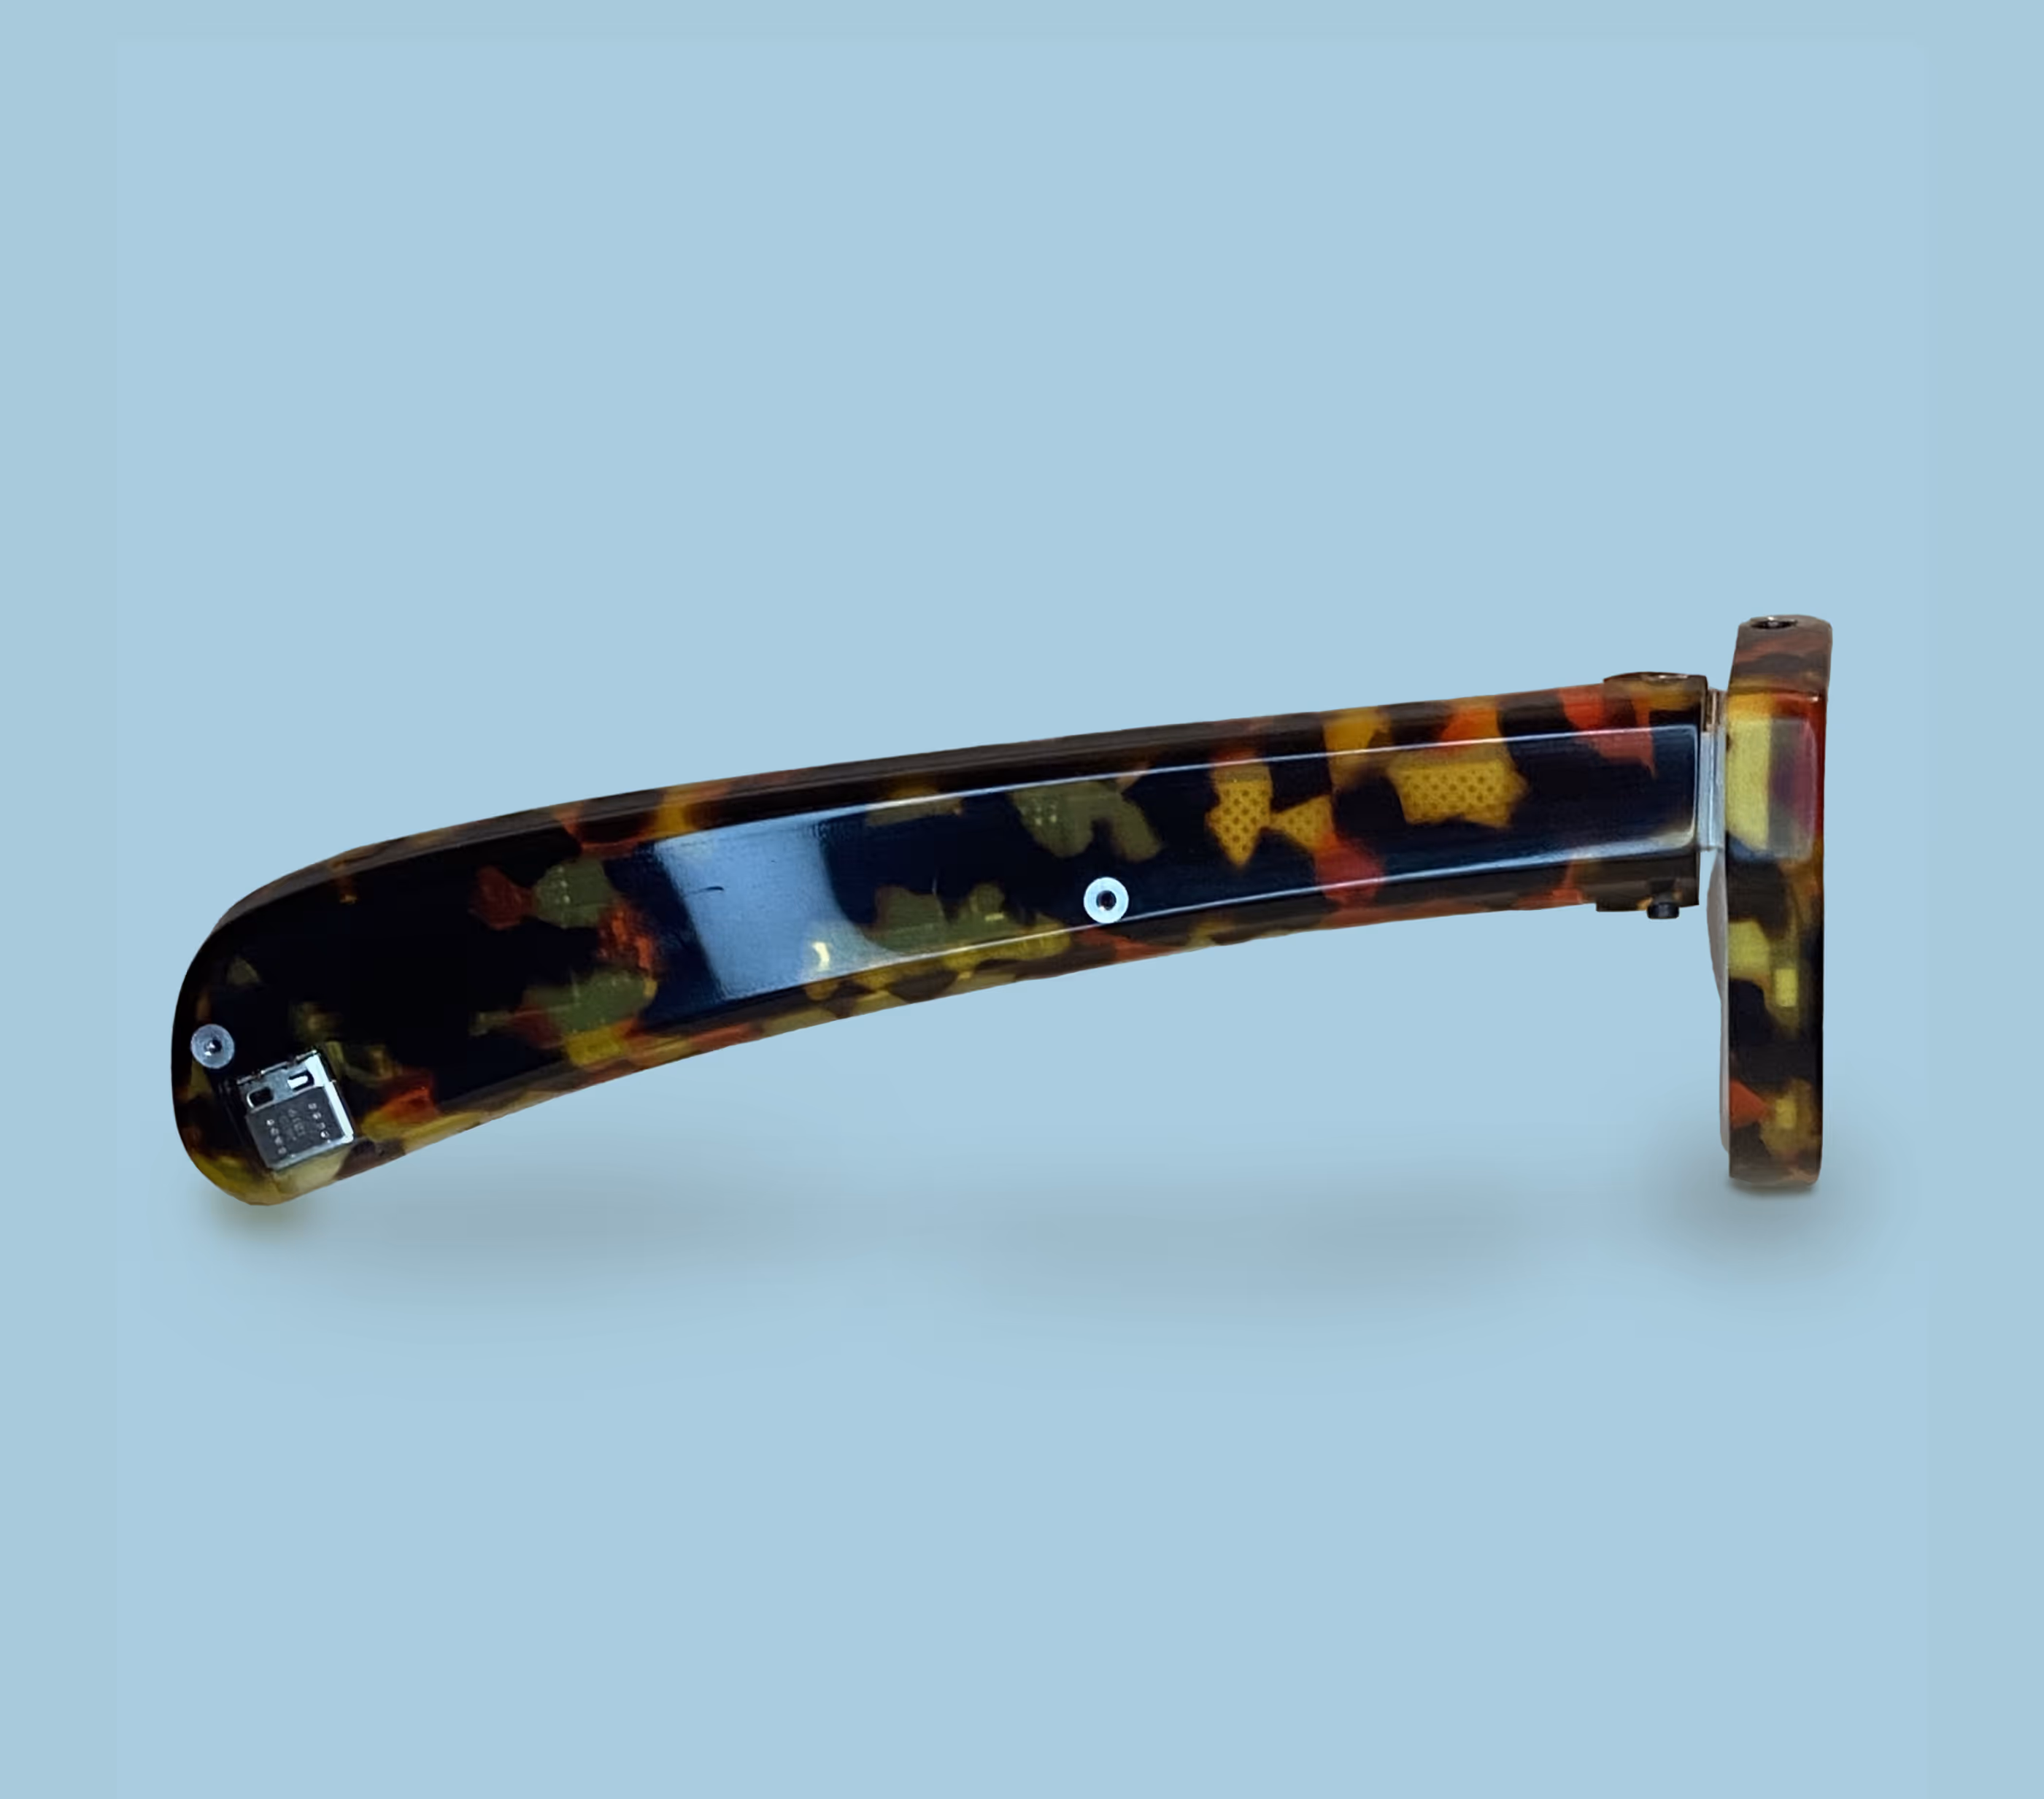
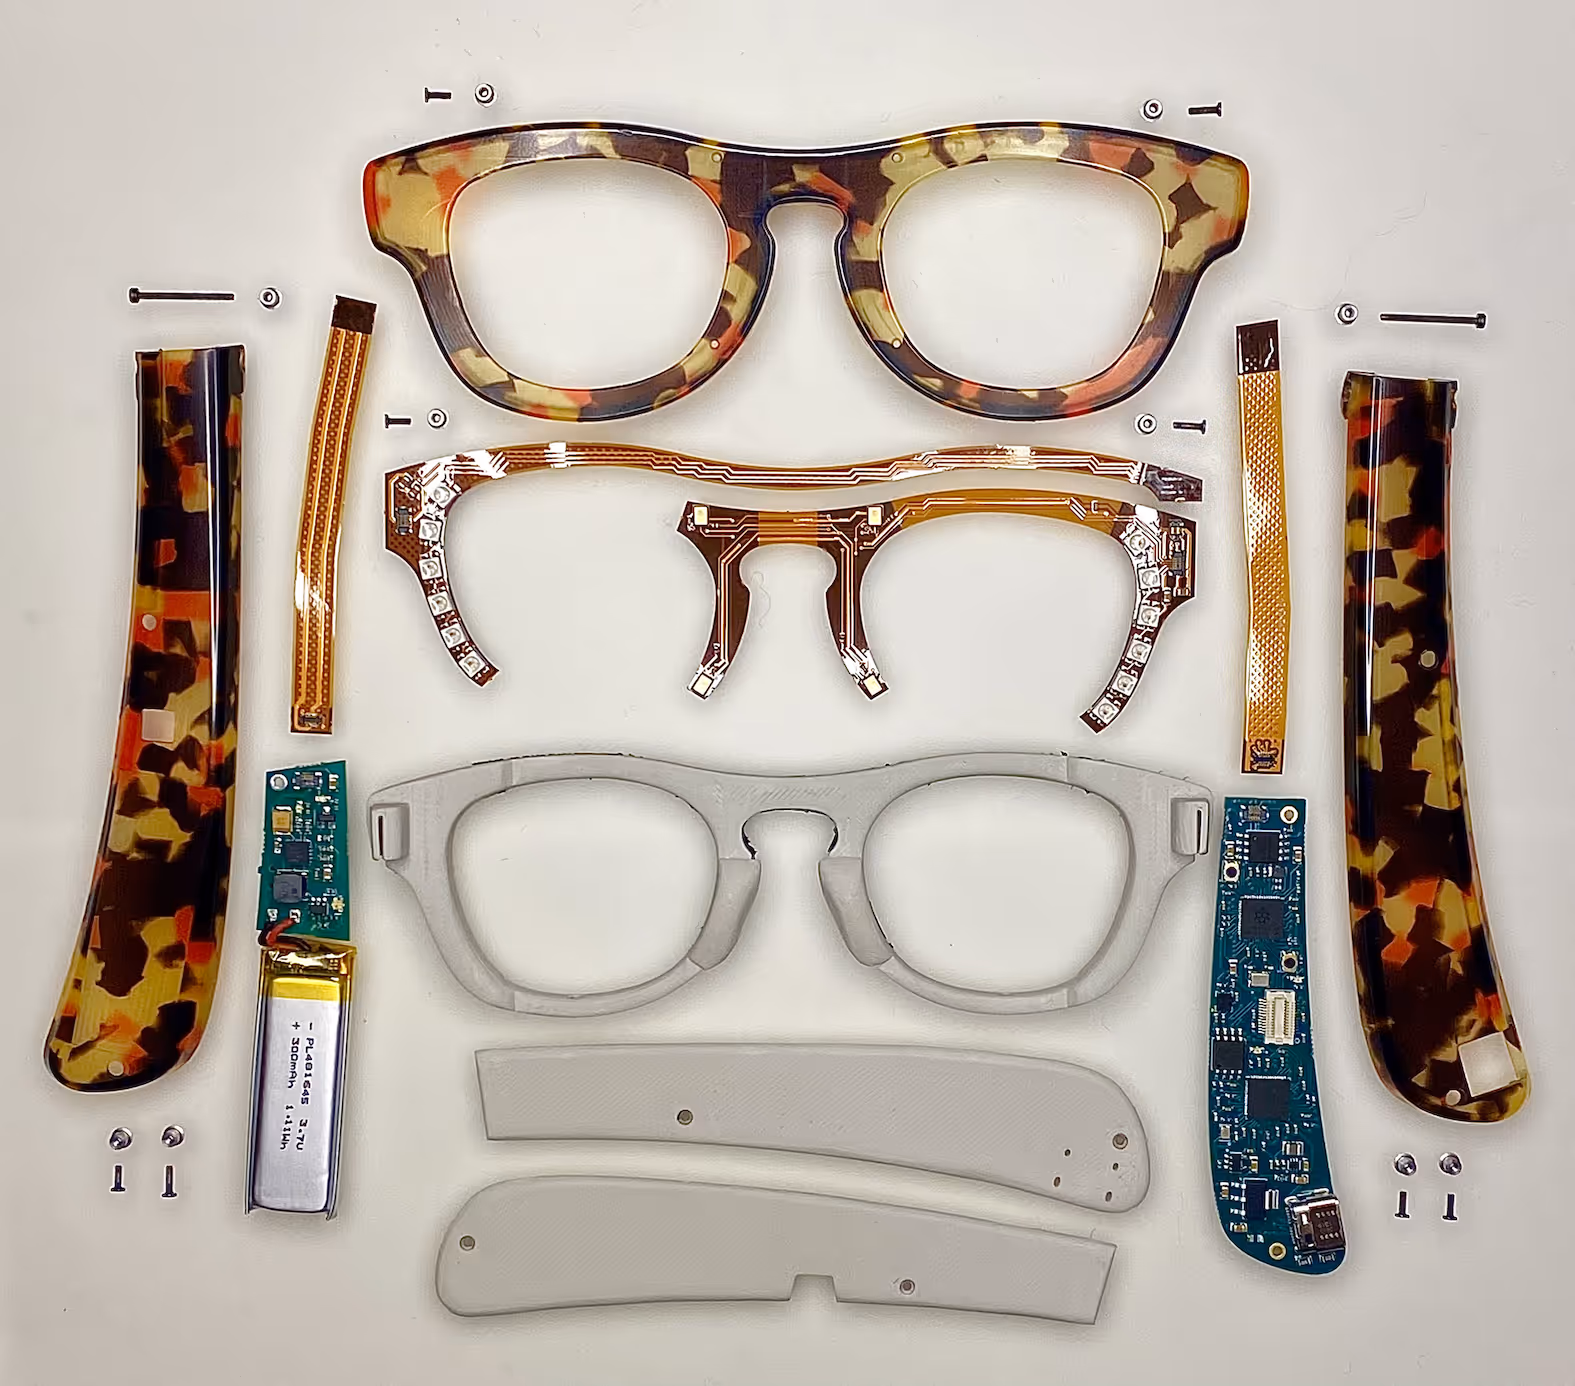
1.) Form Factor: constraints and ergonomics
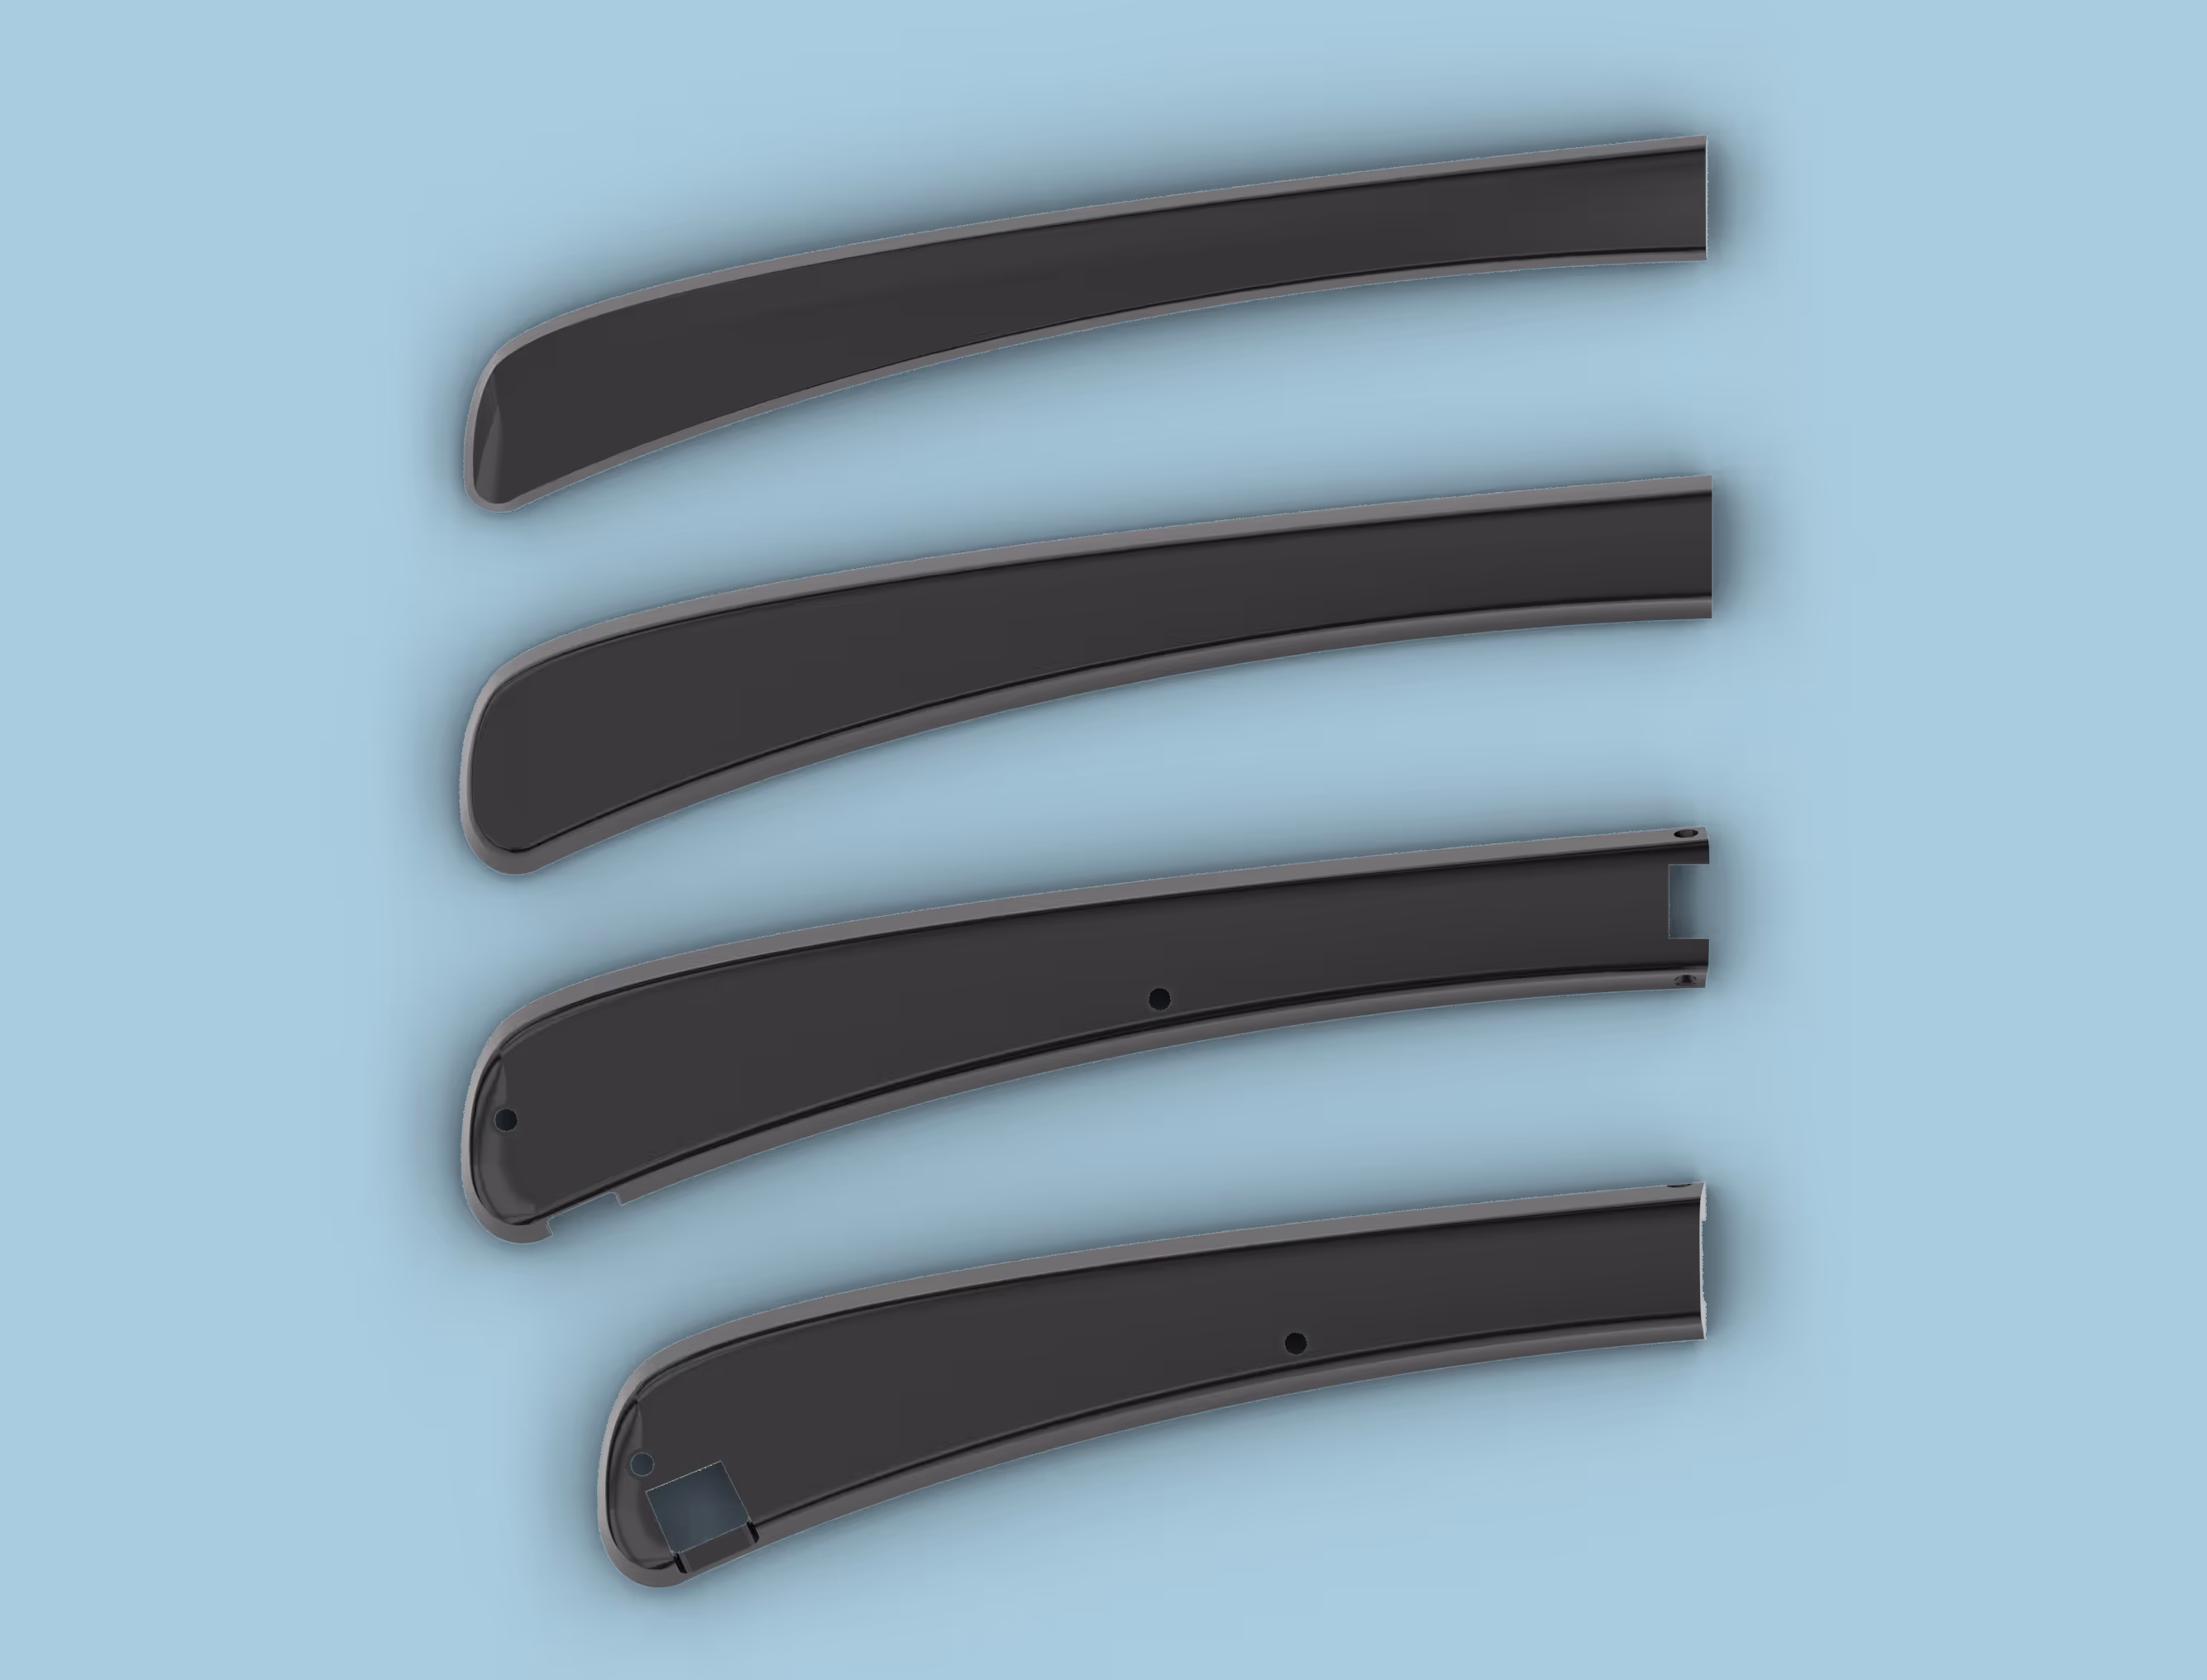
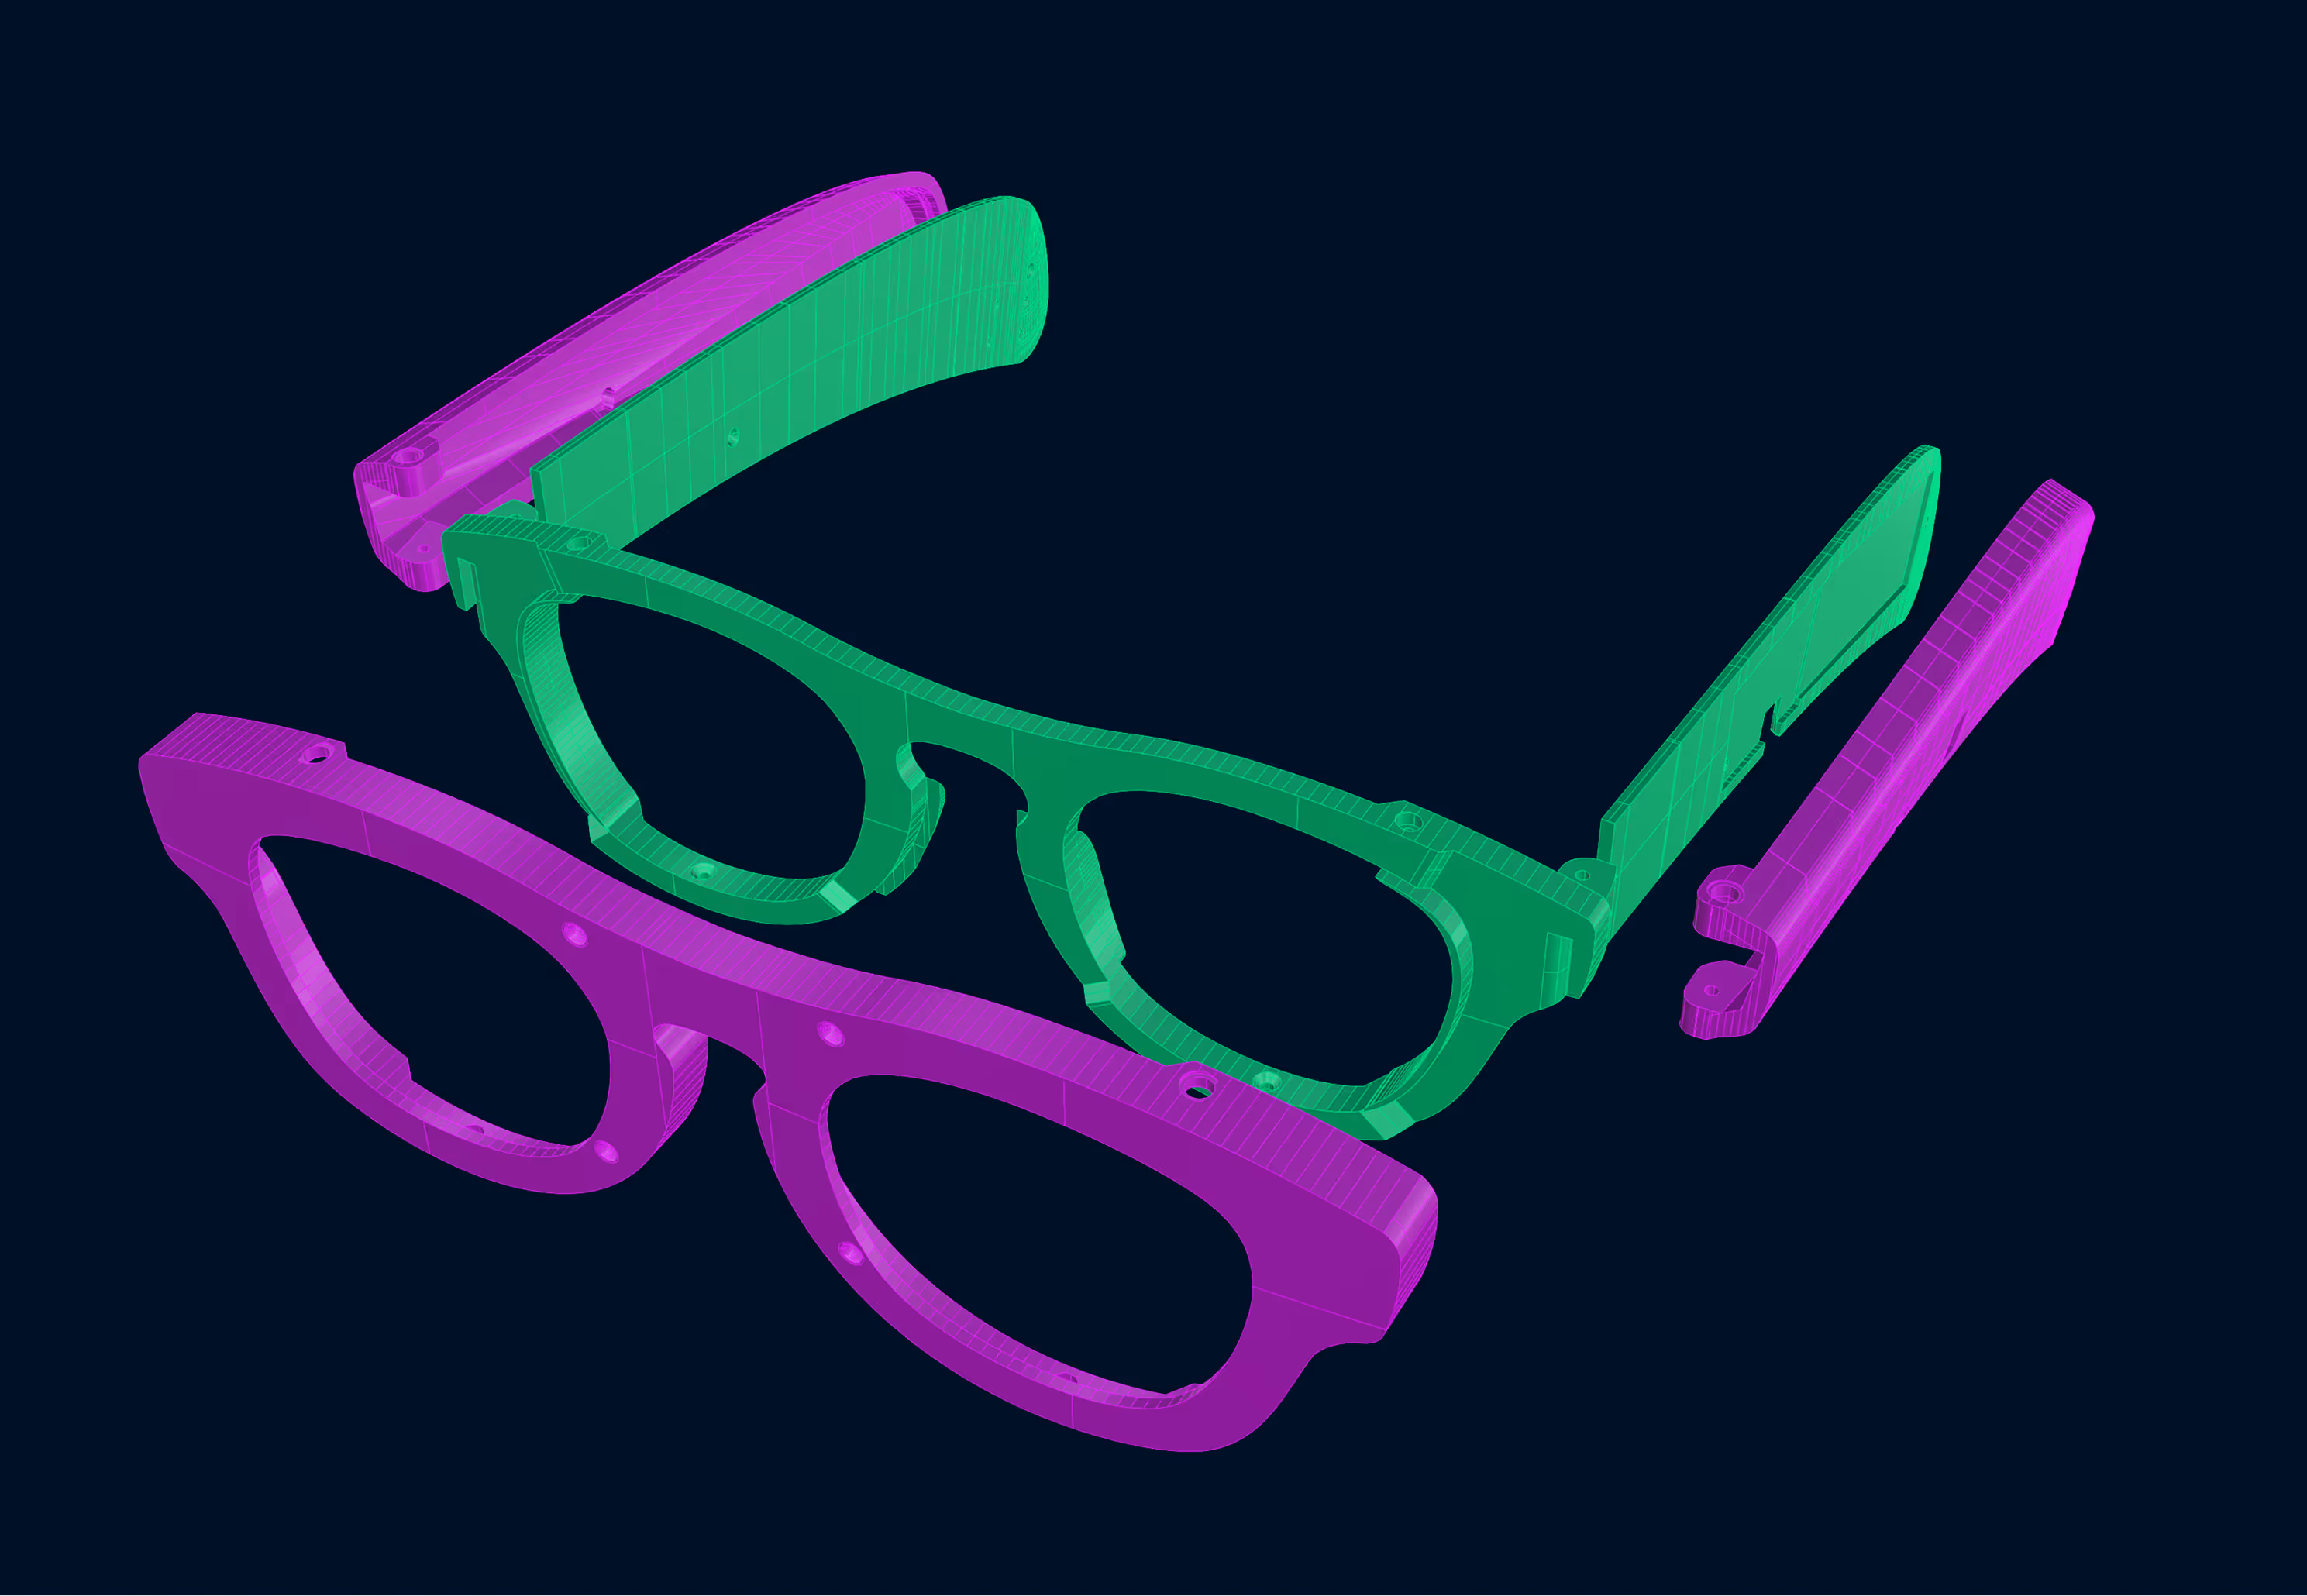
As I was designing the PCBs, I iterated the design of the frame housing to understand how the components would fit and be integrated comfortably. I imagined a 2 part assembly sandwiching the components in place. An important detail I had to navigate were the hinges; they had to allow the FPCs to pass through while keeping them secure and supporting the full range of motion for the temple.
My biggest concern was the weight and width of the PCBs making the glasses not fit over the ears or press too hard on nose bridge. I eventually found a temple shape which sits the heavier components above and behind the ear- counterbalancing the front and making them feel weightless on the nose. I printed the final internal parts in a matte white PLA (for LED diffusion) and machined the outer parts in a tortoise cellulose acetate.